Disclaimer: I did not receive any money, promotion, commission, or sponsorship from the manufacturer and/or company in exchange for this post or for sales of this product. I did receive a free sample of this product from the manufacturer. In this post, my own honest opinions are described.
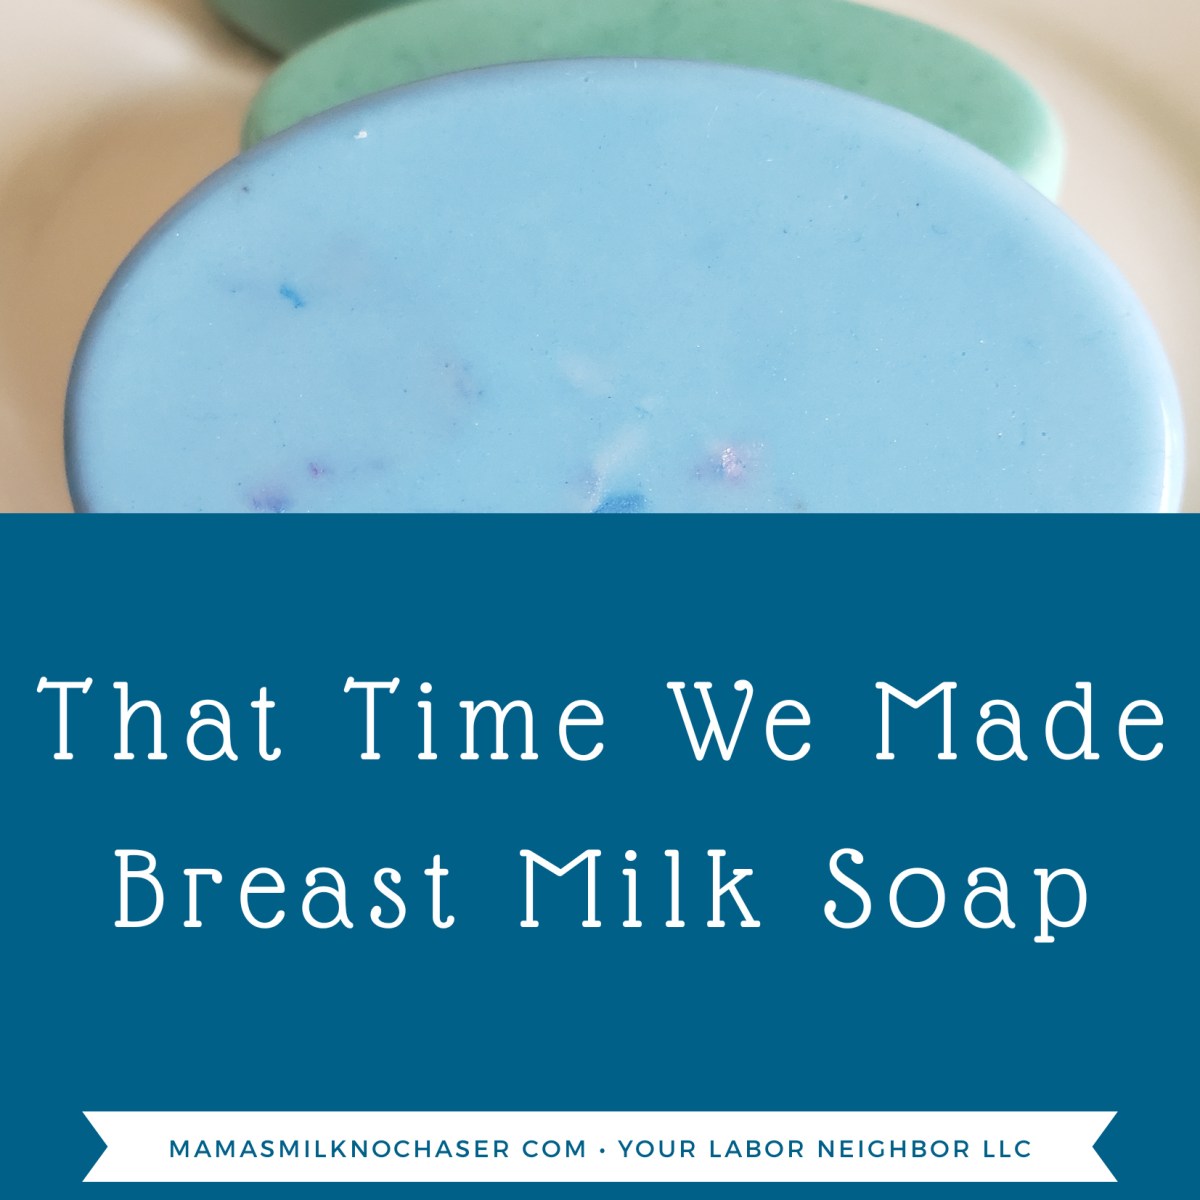
Today was a good day for making breast milk soap. Stir-crazy kids, trapped in the house due to quarantine, needing to spice up the bathtime routine, breast milk for the taking… I’d say this project sounds like a recipe for sudsy success.
Why not make your everyday, standard, milk-free soap you ask? Breast milk is nature’s original medicine and a natural choice for boosting the nourishing and healing qualities of your baby’s or child’s soap. You can learn about the extensive beneficial components of breast milk here, but here’s a quick refresher.
Breast milk has:
- immune supportive properties
- probiotics
- antibodies
- antibacterial (germ-killing) cells
- antiviral factors
- antiparasite factors
- at least 3 kinds of stem cells
- clinical uses
- topical applications (treatment of various skin conditions like cradle cap, eczema, poison ivy, poison oak, hives, warts, sore throat, sunburn, acne and more)
Now, I don’t know how much of these particular benefits are lost to the soap-making process, but I think any breast milk must be better than no breast milk. If anything, it’s a fun way to utilize extra breast milk that cannot be consumed for some reason.
Getting Started
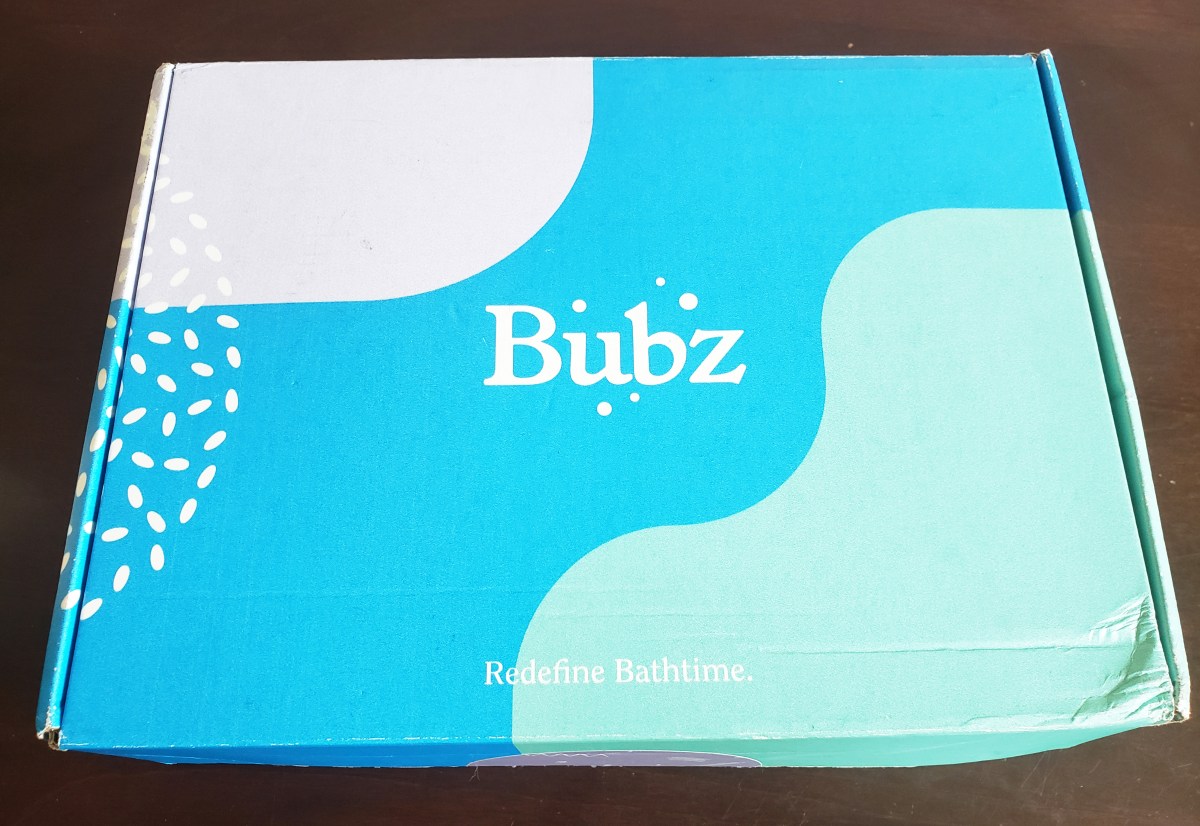
Thankfully I had this sample box from Bubz Baby Company on hand. I was pleasantly surprised that it had everything I need to make the soap (other than the milk) because 1) I’m not very crafty, and 2) my house is a mess right now and I really don’t feel like searching high and low for mixing tools.
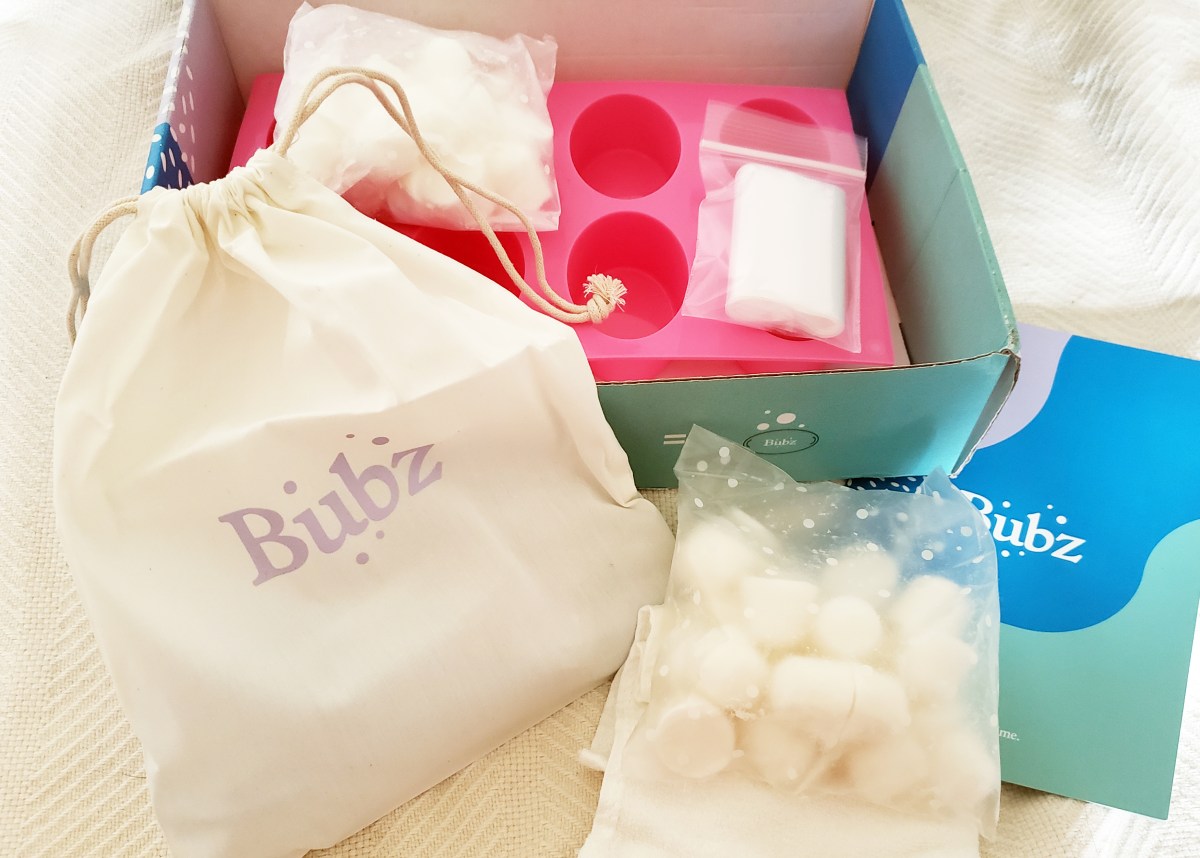
The box includes:
- 4 oz measuring cup
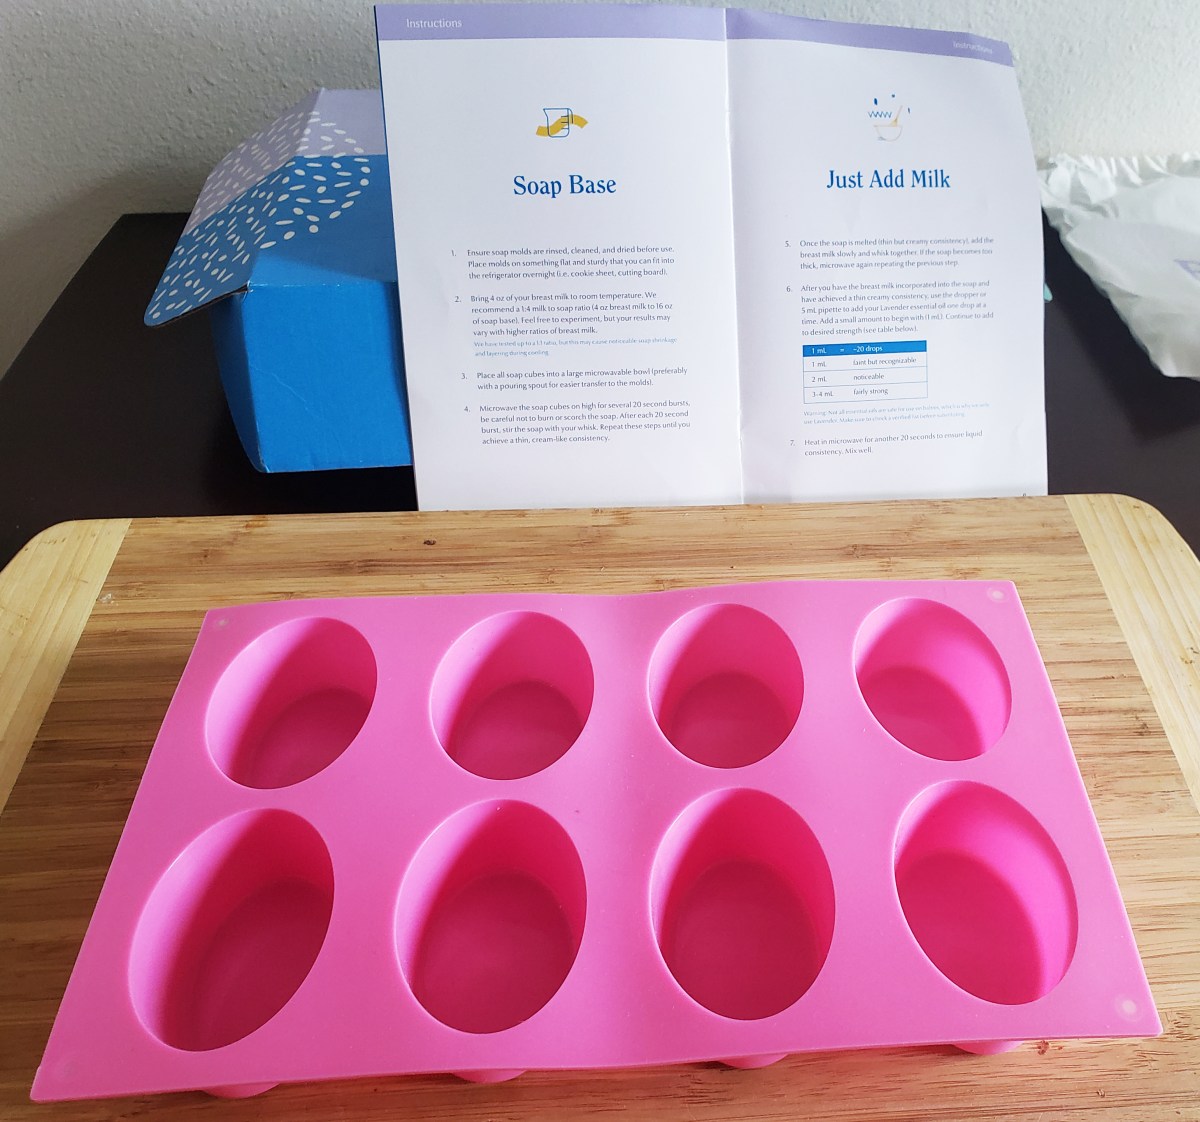
- 10 silicone soap molds
- silicone spatula
- alcohol spray
- plastic powder scoop
- soap storage bags (perfect for gifting!)
- 16 oz shea soap base
- stainless steel whisk
- lavender essential oil
- colored mica powder
- plastic 5 mL pipette
- soft hand towel
I needed to provide:
- About 4 oz of breast milk
- Cutting board or tray
- A few small mixing bowls

A few other things I really appreciate about this product:
- It’s vegan! Yesss
- Mica colorant — no synthetic dyes
- Pretty soap colors: lavender, blue & green
- It’s hypo-allergenic & non-comedogenic
- Ingredients are all-natural – no SLS or SLES
- Finished soap can be stored safely in the freezer for years
- Reasonable pricing considering everything included. The kit runs $65, which comes out to around $8 per soap (on par with many fancy soaps I’ve seen in stores). This would be an awesome baby shower gift.
The steps are pretty easy to follow. The kit comes with a instructional booklet that my kids and I referred to throughout the process (yay for minimal thinking energy required!).
First I started thawing my frozen breast milk. I don’t know whether fresh milk turns out better, but thawed frozen seemed to do just fine.


Meanwhile the kids poured the soap balls into a bowl. They noted how they look like marshmallows and agreed such a likeness is very cool.
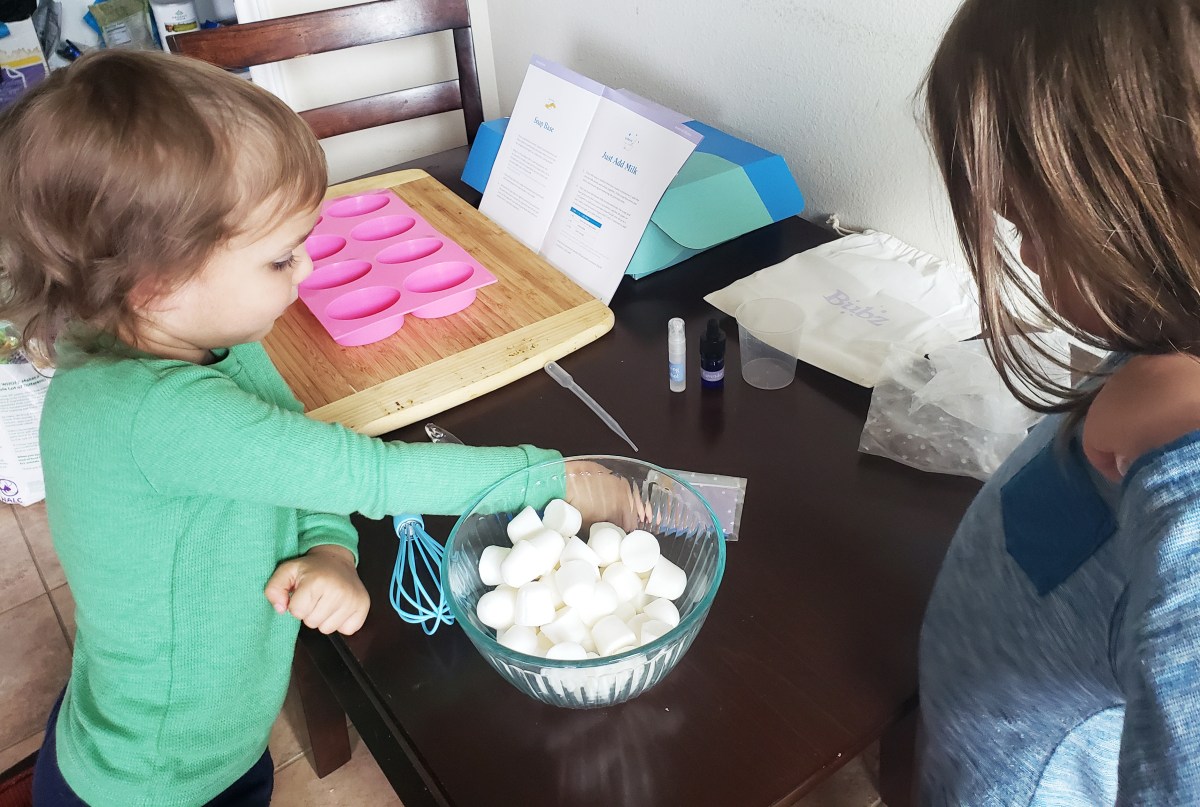
I microwaved the soap in 20 second spurts per the instructions, whisking in the intervals until creamy and liquefied.
My older son was horrified that we were microwaving it and I had to explain how we wouldn’t be eating the soap so it’s okay (with a meaningful glance at my younger son who finds inedible things to be delicacies — “we won’t be eating the soap, right?“).
Then we added the breast milk and whisked again! I like how the whisk suits both adult and child hands so everyone felt comfortable mixing.
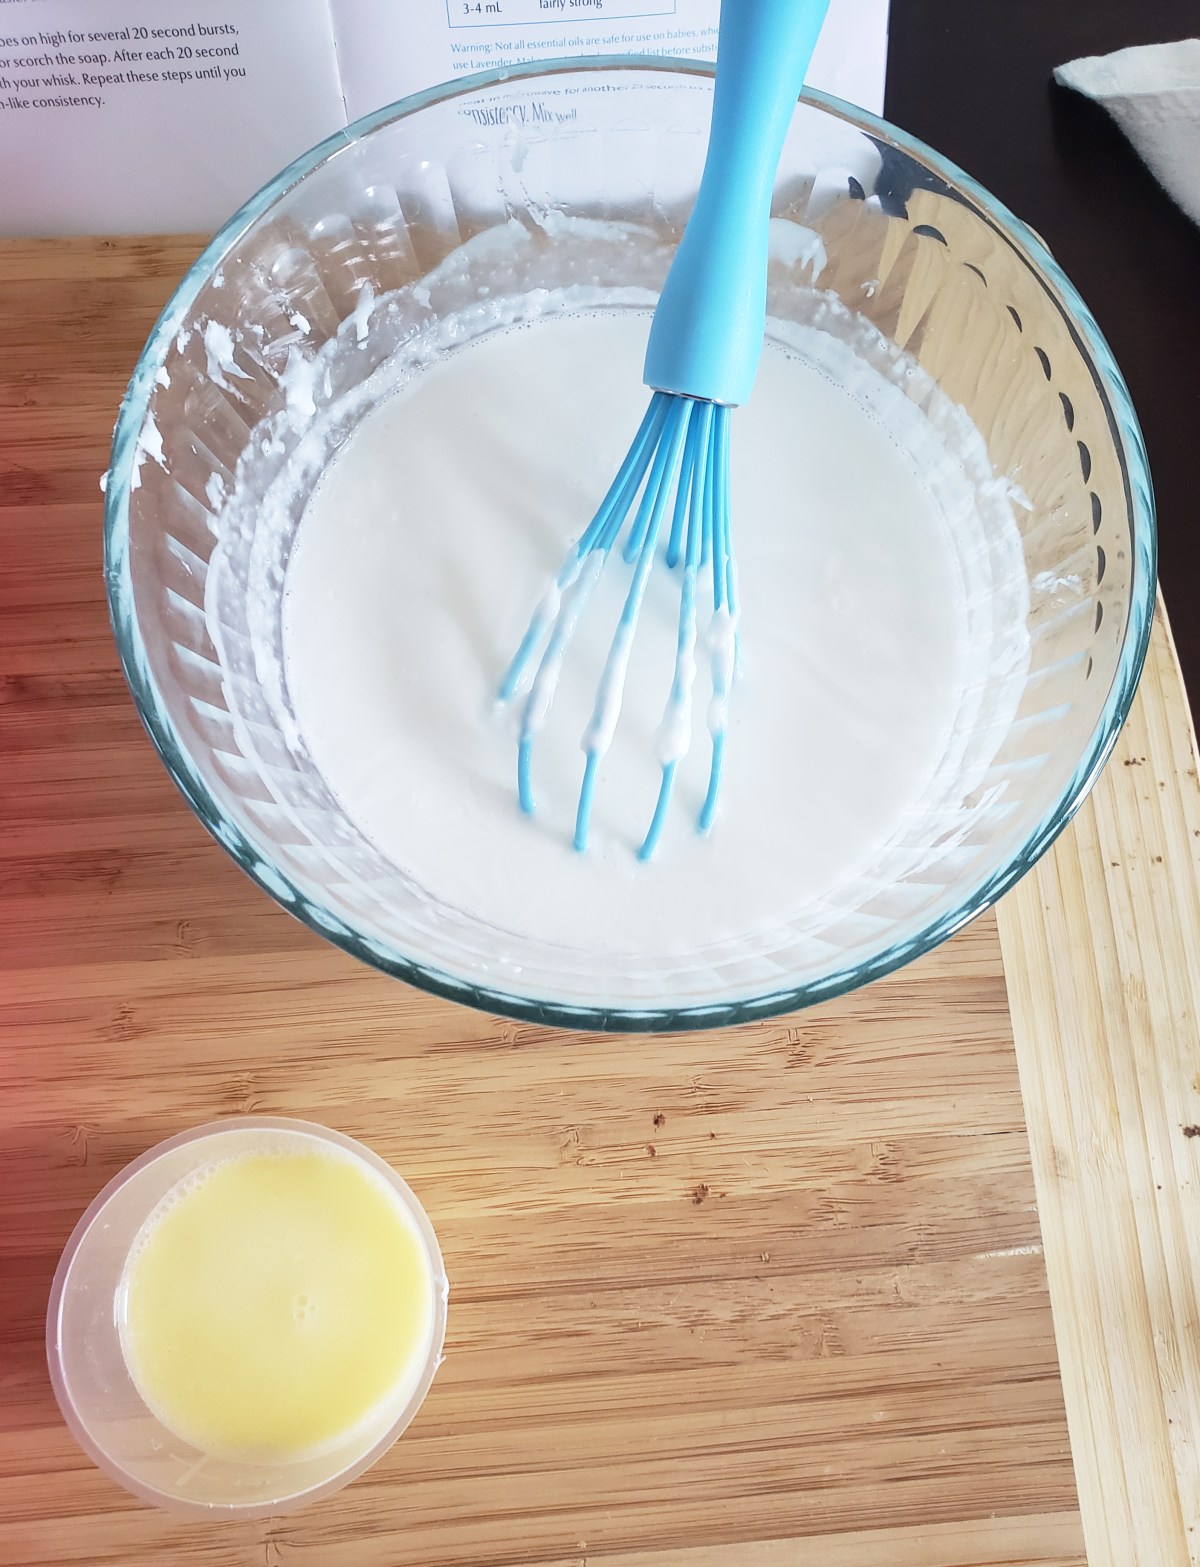
Then it was time for fragrance. A small bottle of lavender essential oil was included in the kit, so we used the cap dropper to add a good amount to the milk soap bowl. Our bottle was only partially full, so we ended up dumping the whole thing in. I suspect a majority of the oil had evaporated because we waited too long to open the kit — whoops!
A pipette is also included in case you prefer to add your EO this way.
Please remember, not all EOs are safe for babies and children, so be sure to research your chosen EOs should you want another smell.
I think this would be a good time to toss in other fun elements like herbs, dried flowers and citrus and so on, if you wish. Again, do make sure your additions are baby- or child-safe.
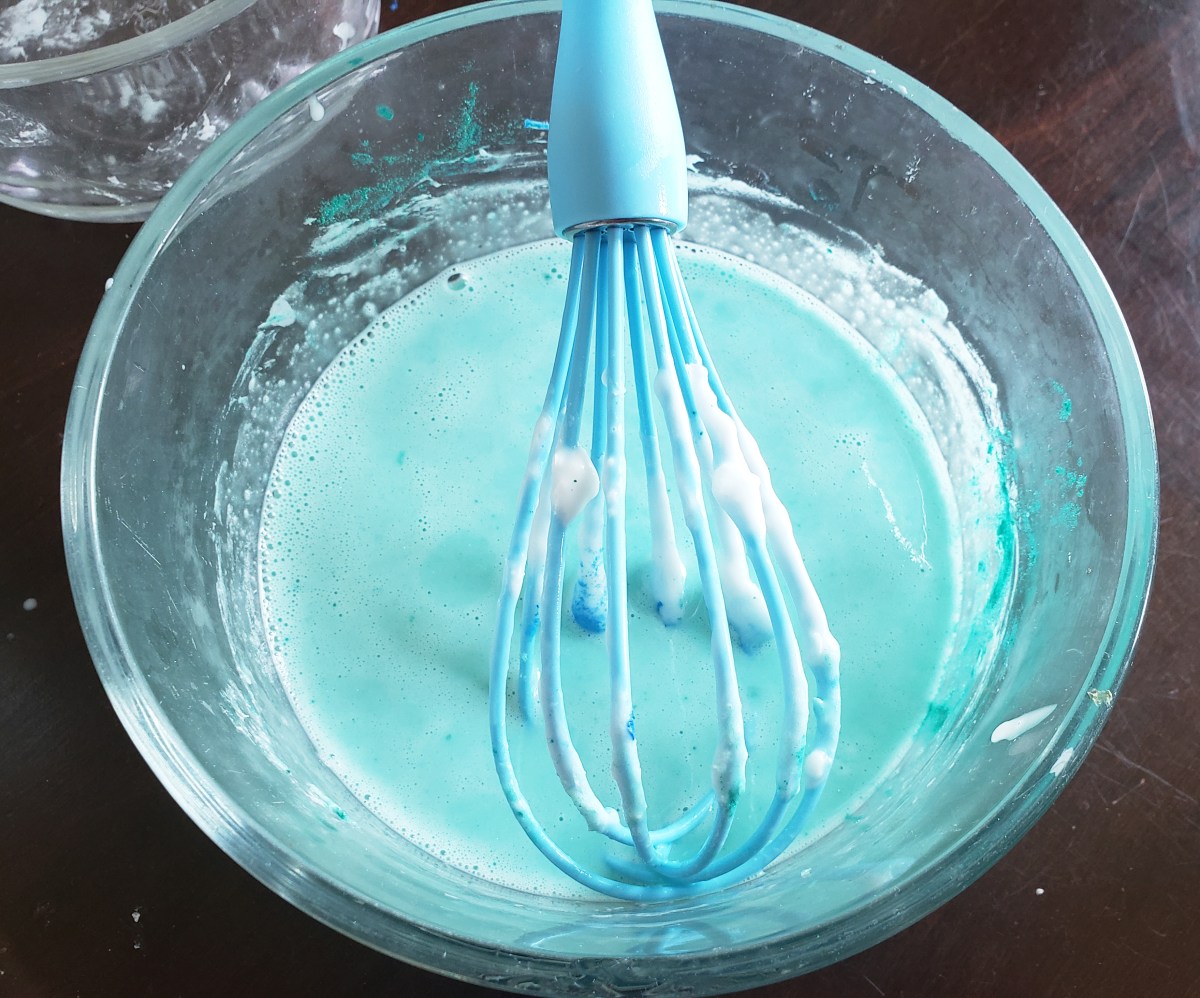
Time for colors! My older son wanted to make a light blue soap and my younger son chose green. I set out several small bowls to experiment with different colors.
Starting with purple, I demonstrated how to add the color powder using the tiny double-ended scoop. It wasn’t easy figuring out how many scoops of powder were needed in the variously sized bowls to achieve a certain shade, especially as the FAQ noted colors become bolder as the soap solidifies.
So, whatever, we weren’t going to be picky and just kind of played without plan.
Make sure your mold tray is on a transportable flat surface like a cutting board or wire rack. Now it’s pouring time!
So here’s where I kind of messed up. The instructions offer a handy hint that I chose to ignore: use bowl(s) with some kind of spout for pouring.
Do that. The spout-y bowl thing… do it. You’re welcome.
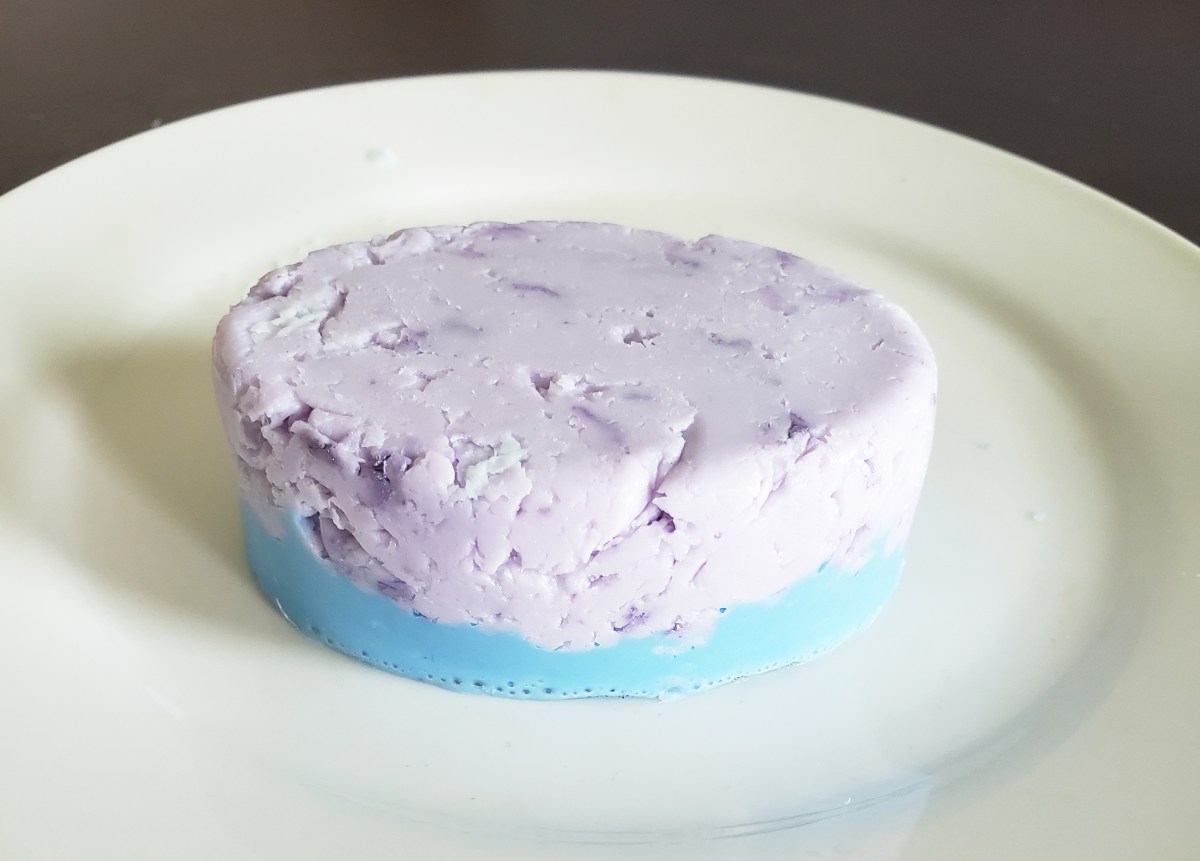
After spending some time mixing in colors, I noticed the soap had already begun to solidify. I used the spatula and my hands to scrape out what I could and sort of shove reasonable amounts into the molds before realizing this is probably not right.
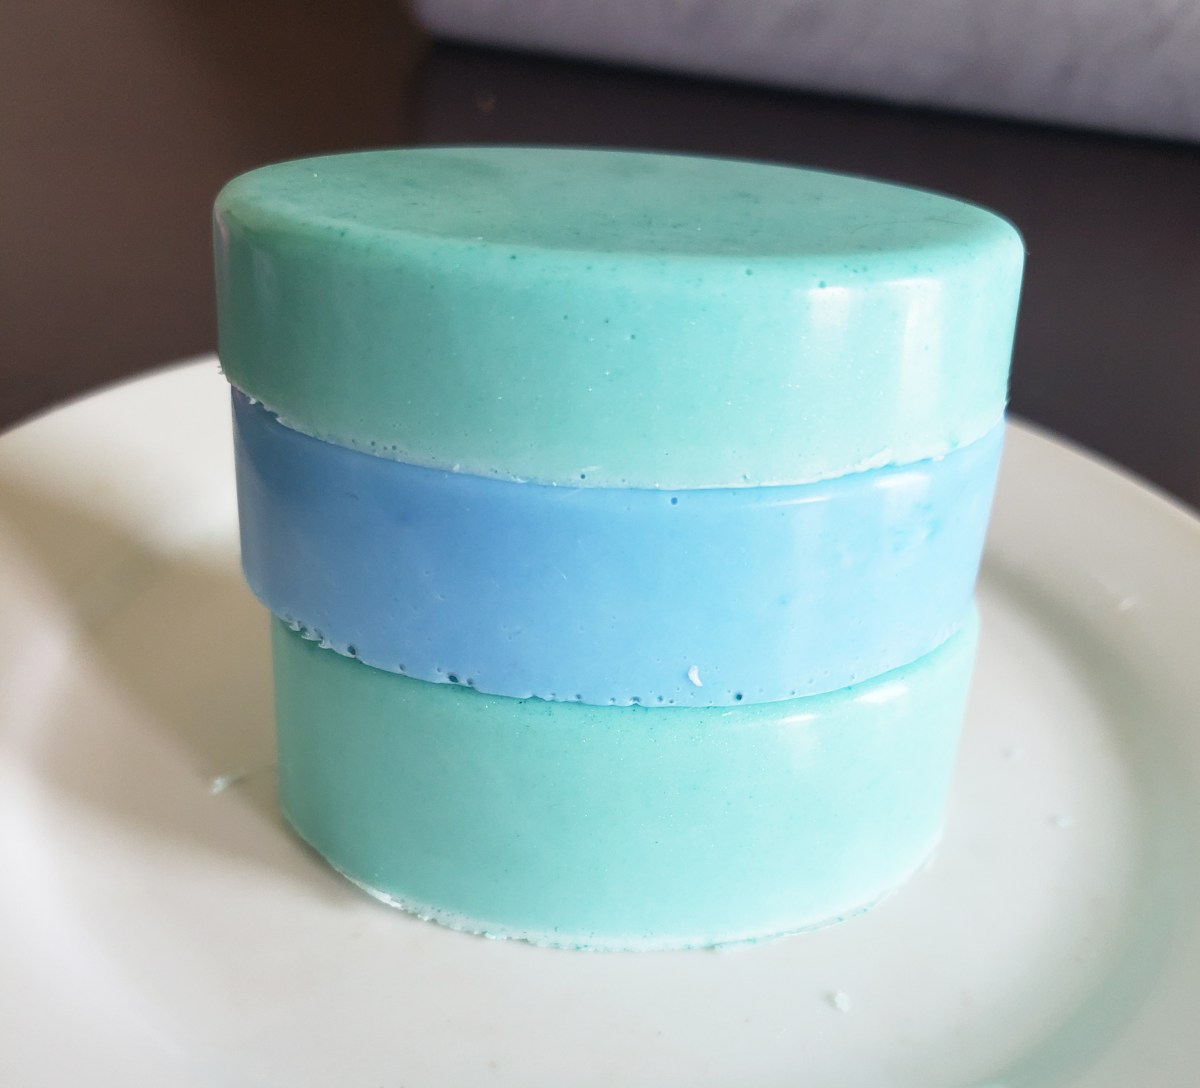
Take two: reheat the remaining mixtures for 20 seconds before pouring it into the molds. Much more graceful. Not to mention more aesthetically appealing. In the photos below, you’ll be able to see the difference between properly melted/poured versus solidifying soap (try the latter if you like a more rugged look).
If you want to be real fancy, you can even make an engraving or stamp on top of the soap if it has solidified enough to do so.
To get rid of the bubbles formed on the surface, the instructions suggest applying 1-2 spritzes of the rubbing alcohol spray. It worked perfectly on two molds for us, not so much on the third, so we decided to leave the remaining bubbly soap as is. A few bubbles won’t hurt ya.
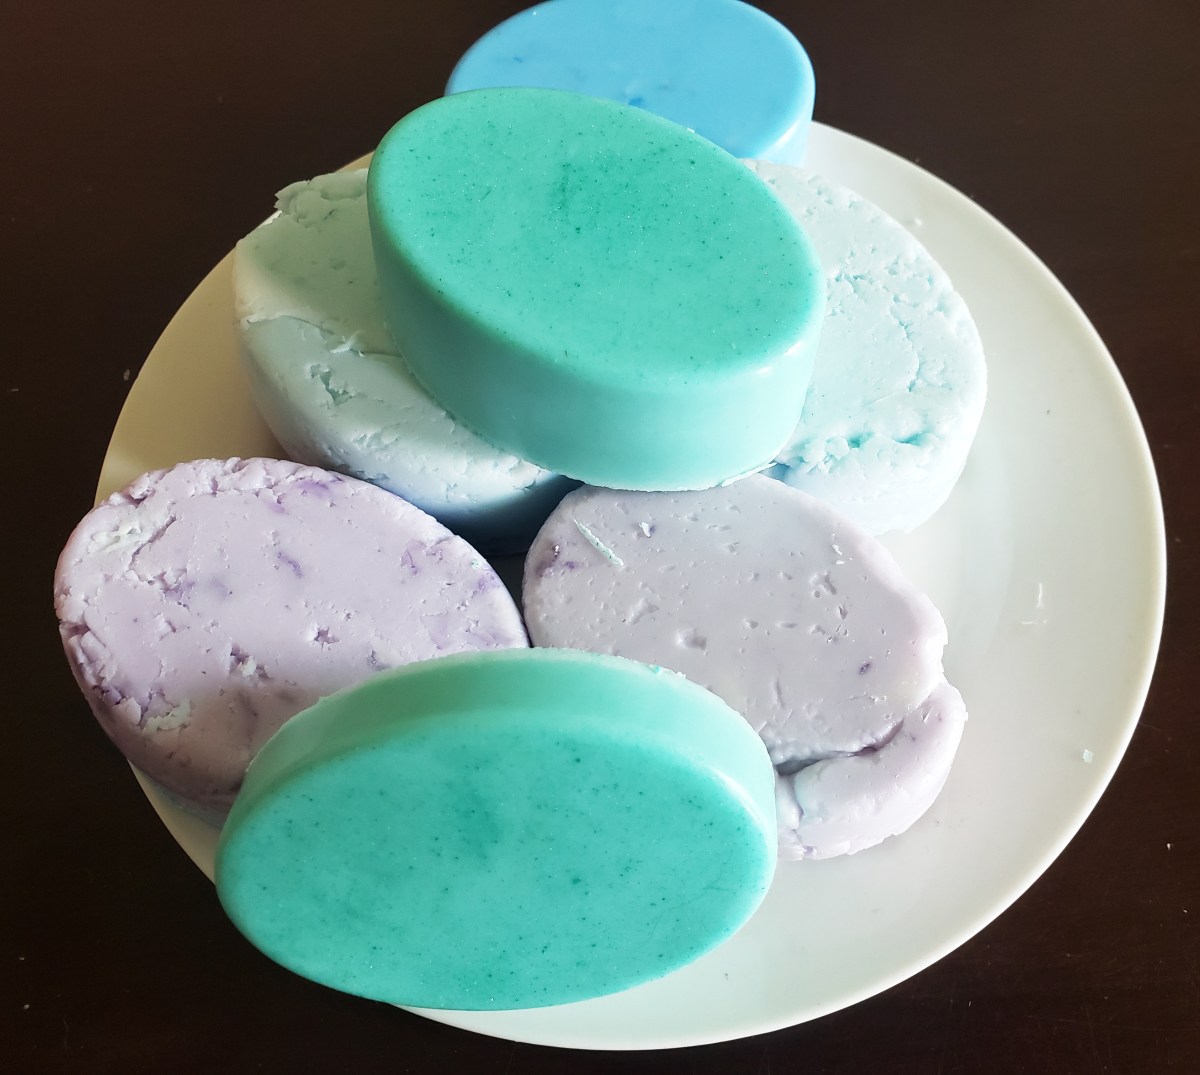
We didn’t have enough soap mixture to fill the entire tray, which might be due to my overzealous soap-packing of the first few molds. But look how pretty already! Like Easter eggs.

Finally, I transferred the tray to the fridge and let it sit for about 6 hours.
Et voila!


If interested to purchase this kit for yourself or someone else, click here.