Last week I sat for my first (and I predict last) pregnancy belly cast. I wrote about it here. After a double layer of gesso on the front and back had finished drying, I conjured up a vision of what I should do about decorating the thing. Here’s how it turned out!
Supplies:
- Gesso
- Acrylic paints
- Sharp craft scissors
- Twine (you can exchange for ribbon, rope, wire, etc.)
- Two washers
- Sharp hole-poker (there’s a technical name for the tool my husband used but… I just don’t care what it is)
- Sea sponges in various sizes/textures
- Hot glue gun
- Seashells, gemstones
- Towel
Process:
Prepare the area: Towel under the cast, put on clothes that can get ruined (or take off all clothes?), have a snack, obvious things…
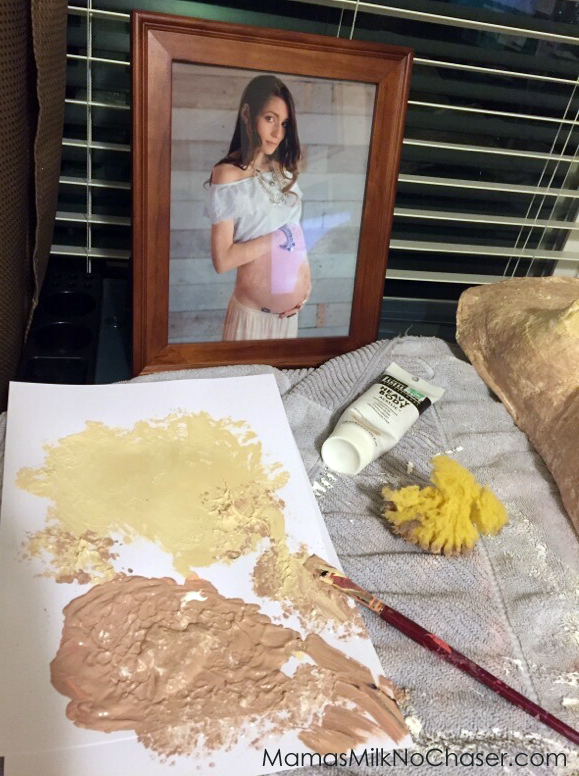
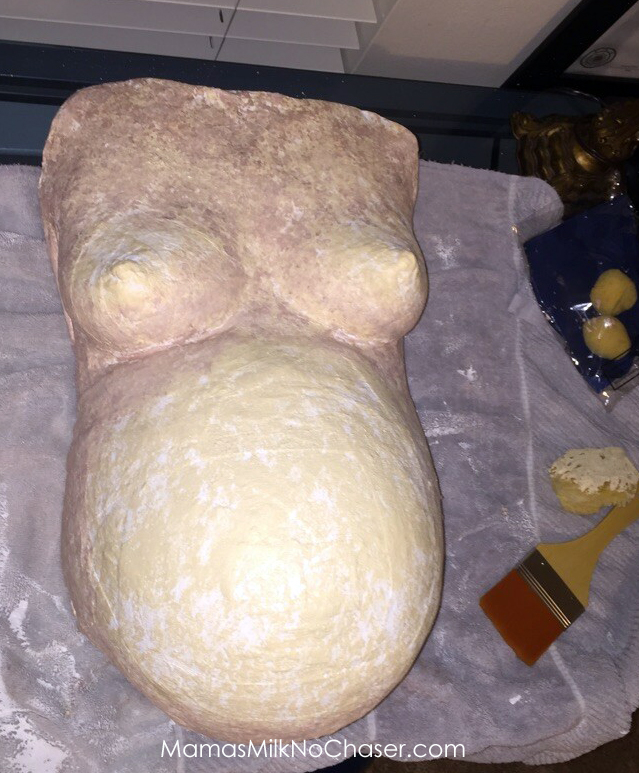
First, the Designated Dad smoothed on a thick layer of gesso on both sides, one side per day to allow for drying.
I trimmed the rough edges of plaster with scissors to round it out.
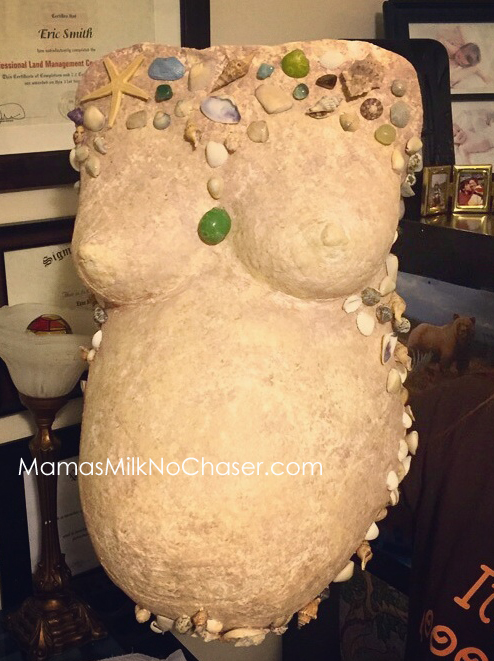
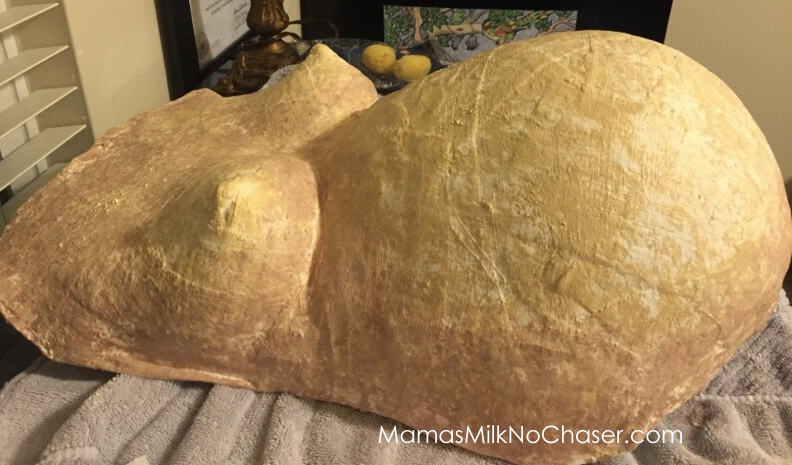
Then I used a beige paint and a black/red mixture to sponge onto the cast for a sandy effect, with more of the darker hue around the outer curves. I just kind of splotched it on without much forethought (3 year old in the room playing with scissors can get distracting!).
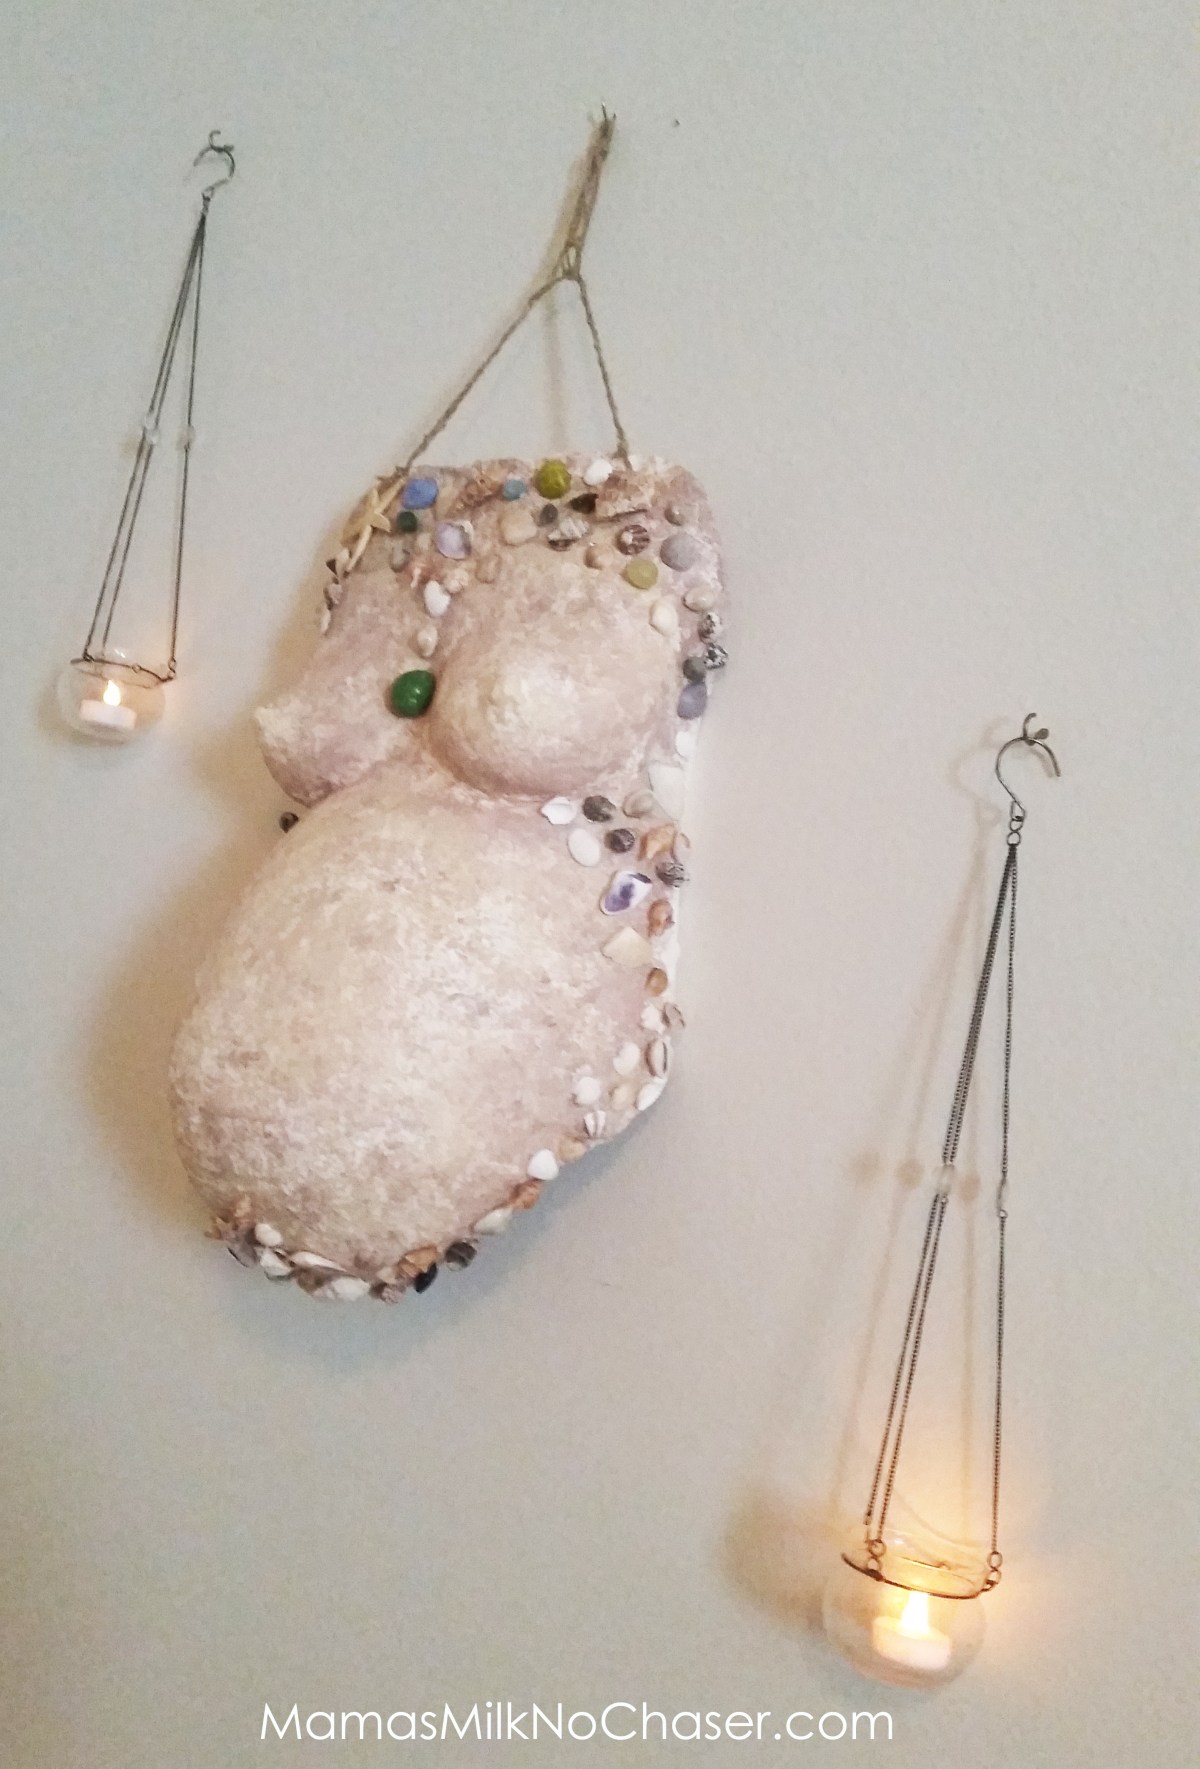
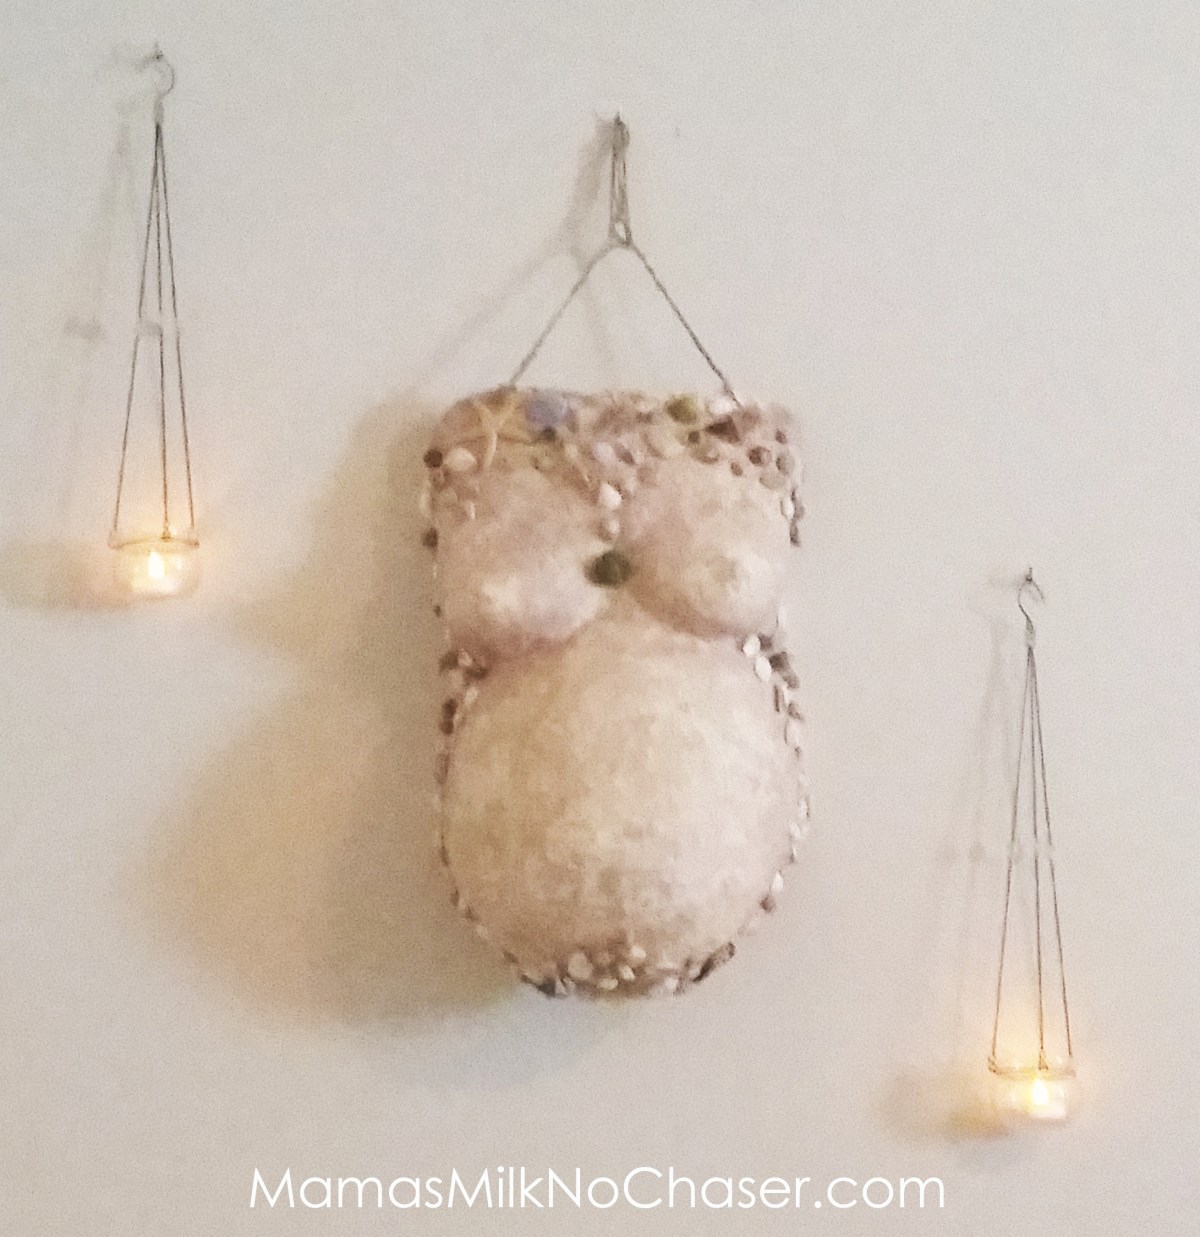
After the paint dried, I laid out my chosen embellishments: assorted seashells and sea glass colored gemstones. I turned up some top 90s hits and went about bopping my head and hot-gluing those sweet beachy finds all around the cast — not much rhyme or rhythm to it. Well, maybe a little rhythm… (those 90s hits, though!).


After letting that set, The Designated Dad used some screwy-looking tool (was it a screw?) to make a hole on each shoulder. We hot-glued a washer on the underside of each hole for extra support.
He’s kind of a genius knot-maker (past life as a seafarer?) so he took on the task of stringing the twine through and fancying it up with some special naval braiding (not pictured below). I’m sure there’s a YouTube video for that…

So What Do You Do With This Thing, Exactly?
To be honest, making a belly cast was very low on my priority list as far as third trimester tasks went. I felt a little weird about it. Sure, it might be fun to make the cast, but then what would I do with it? Certainly not hang it on the wall — hang “me” on the wall, I mean (guess where it ended up…).
I really didn’t know, and I dragged my feet quite a bit to accept that this project was happening whether or not I knew why (thanks to The Designated Dad’s excitement over an excuse to get artsy).
Scouring the internet for design inspiration, I learned about some cool ideas people had for putting their casts to good use.
- Store the cast away somewhere safe (or, um, a forgotten closet — oops) for posterity
- Hang it on a wall as decoration
- Re-purpose a sturdier variety as a bowl (fruit, anyone?)
- Use as a photo-op prop with your newborn curled up inside, as in utero
- Integrate into the birthing environment
- Auction it or donate it to benefit a local birth center/birth program
We originally planned to stick it somewhere in our art room long-term, but first it’ll hang out above the birth pool.
Taa-daa! The finished product! And a pair of tealights. Because ambiance.